
Thinking about creating a website but don’t know where to start? I’ve been there—staring at templates, debating coding skills I definitely don’t have, and just wanting a platform that actually lets me express my brand without a headache. Enter: Showit.
Showit is hands-down my favorite platform (and I’ve used a lot!) for creating beautiful, customizable websites without needing to touch a single line of code (because who has time for that, anyway?). Whether you’re building from scratch or using a template, Showit gives you the creative freedom to make something uniquely you. And the best part? It’s super easy to set up!
Let me walk you through the simple steps to creating your very own Showit account.
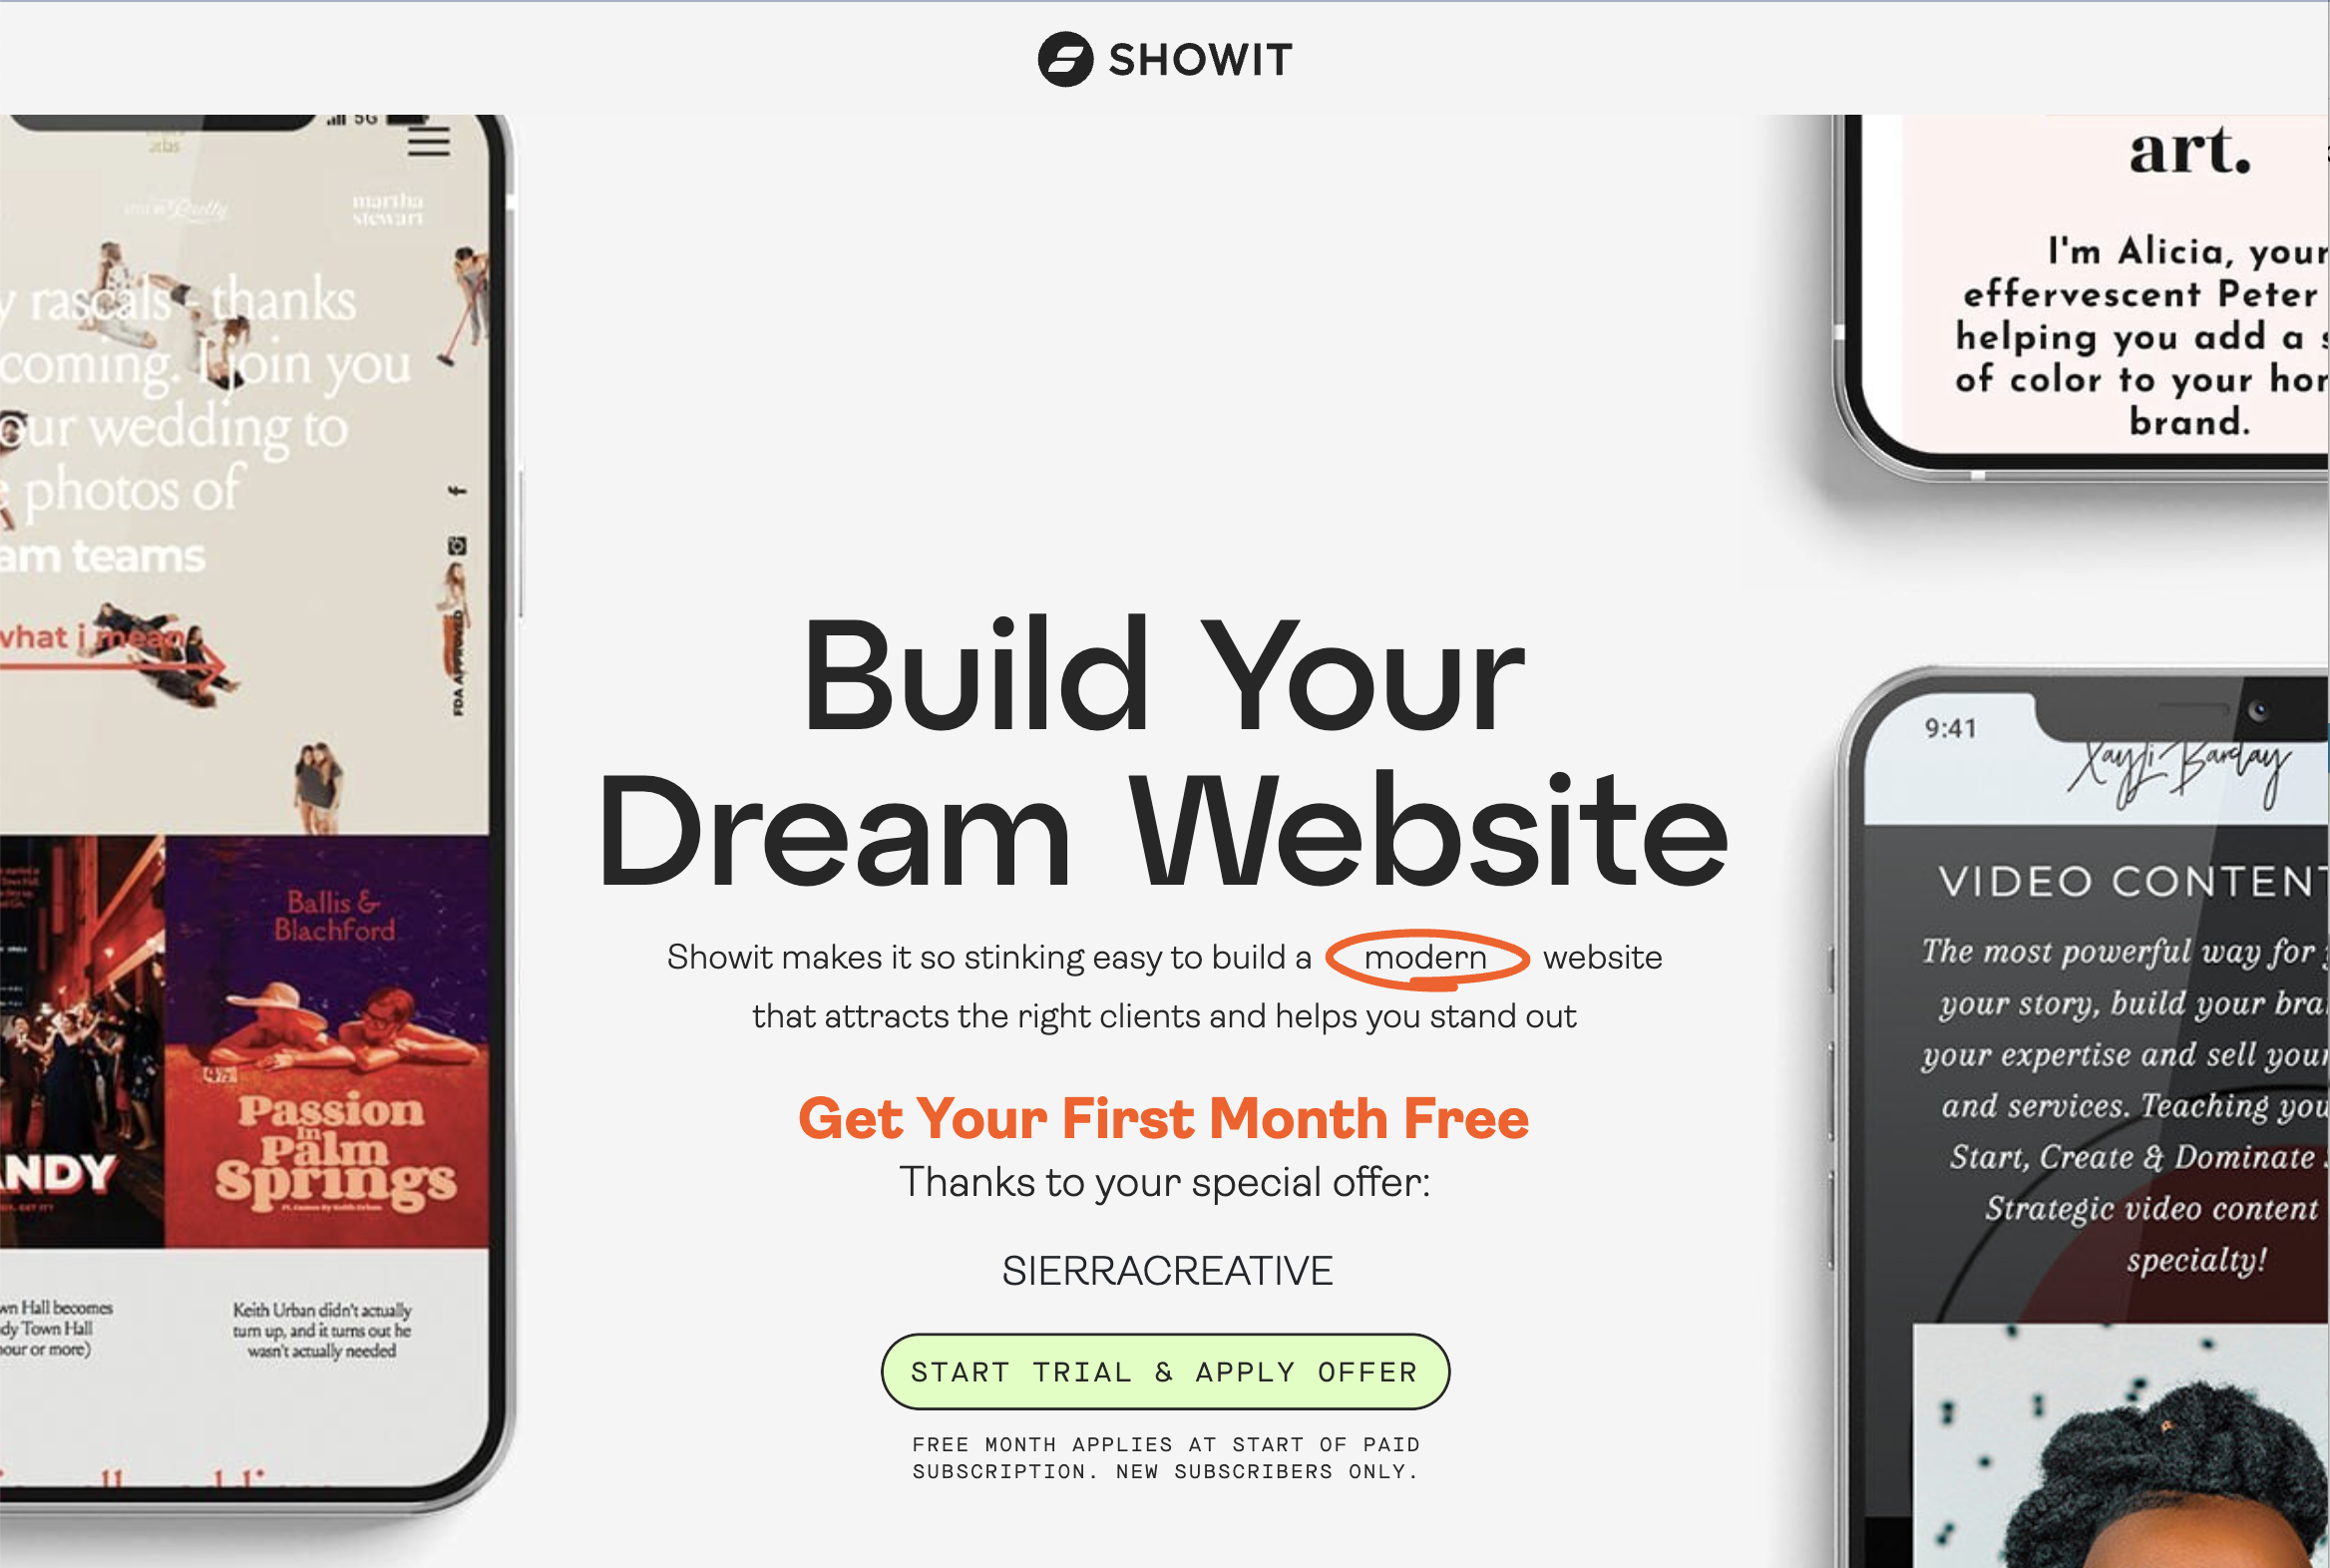
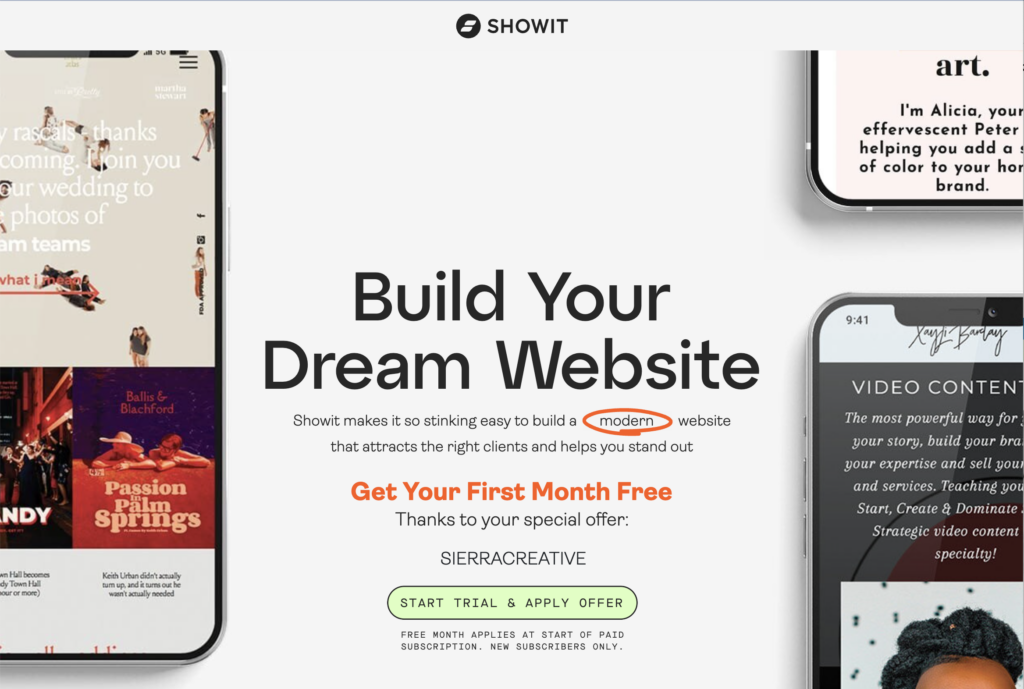
Step 1. Visit the Showit website
Click here to visit Showit’s Website and get an extra month free! 😜
To begin click START TRIAL & APPLY OFFER.
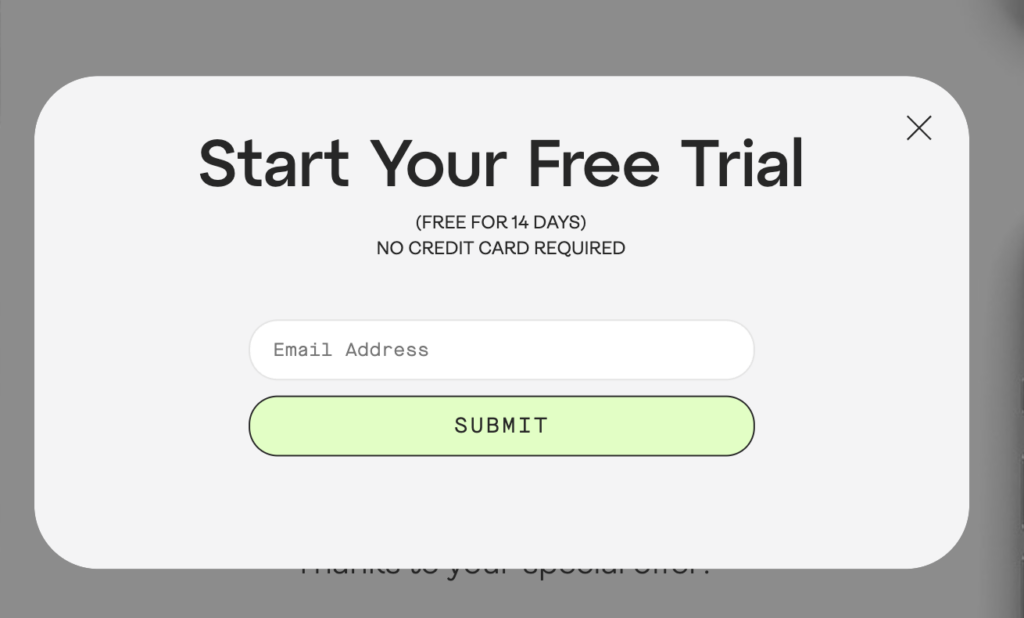
Step 2. Start your free trial
Enter your email address into the pop-up field and click Submit.
This will begin your 14-day free trial. (whichhhhh will actually be 6 Weeks since you’re getting that extra free month!)
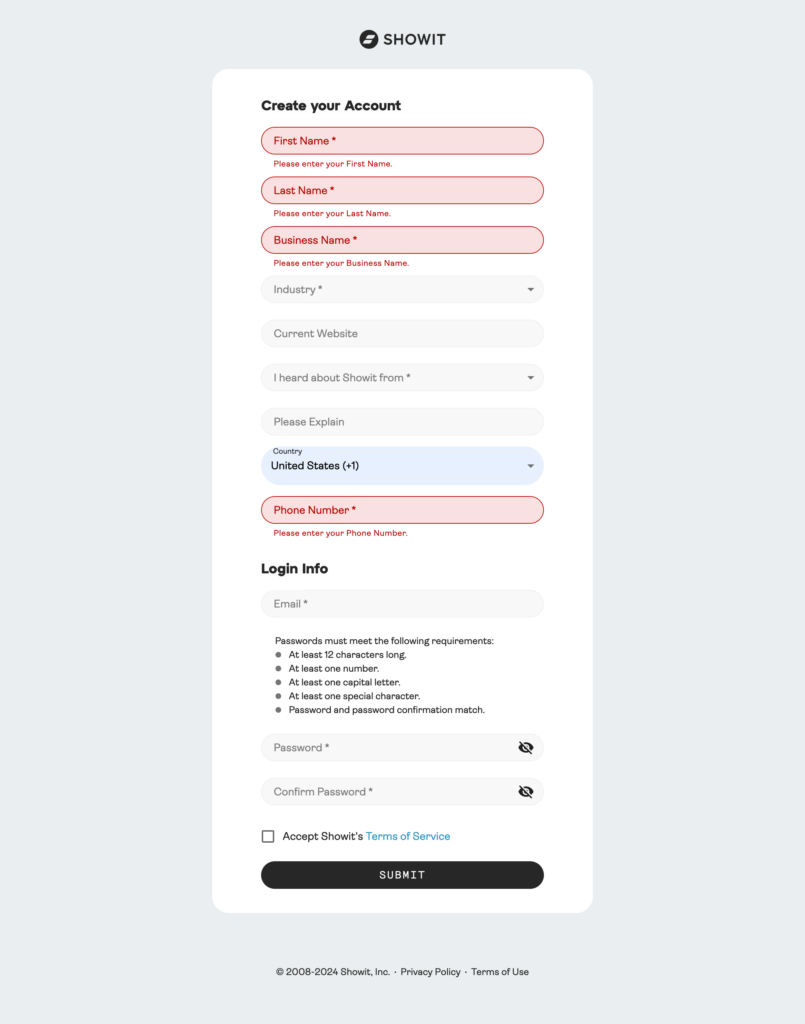
Step 3. Create your account
Showit will ask for several pieces of information, including your name, current website, how you heard about Showit (hint: say you heard about it from your designer!), and contact info.
Then you’ll be asked to create a password, and once you click Submit, your account will officially be created.
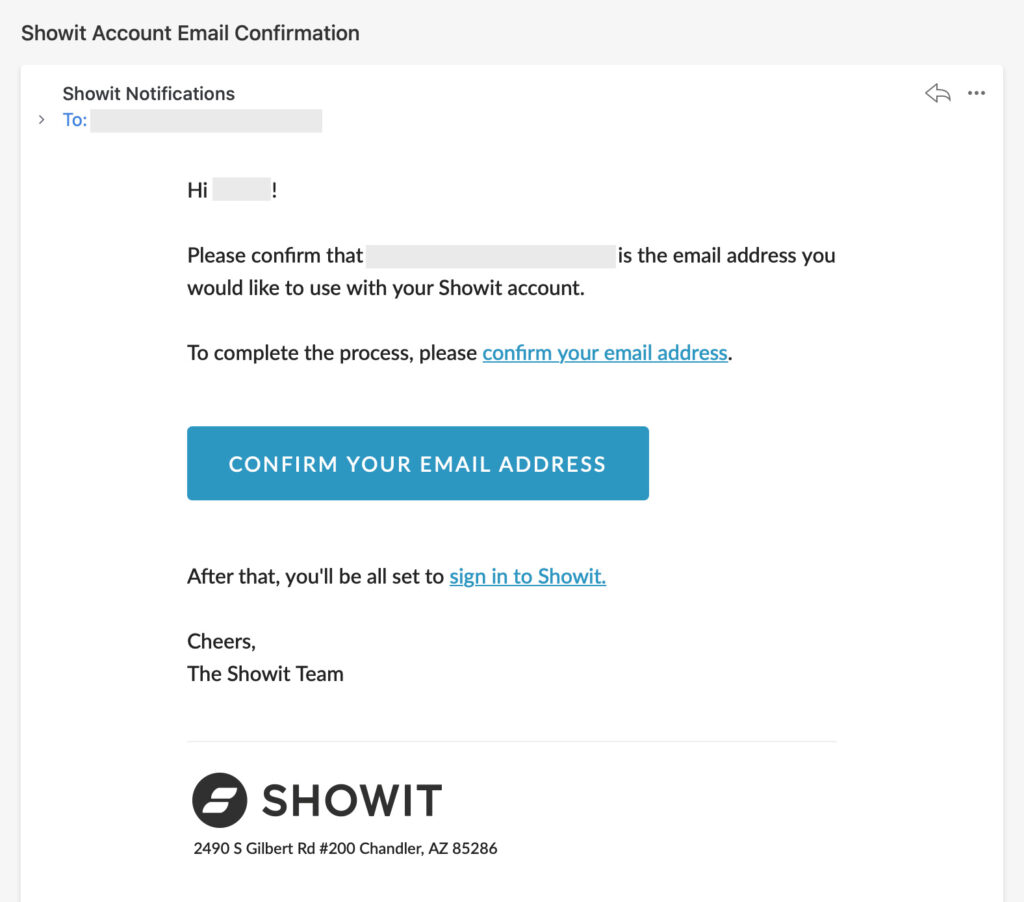
Step 4. Confirm your email address
You won’t be able to subscribe to Showit until you confirm your email address, so let’s just get that out of the way.
The email you receive from Showit will look just like the one below.
Step 5. Log into Showit
Once your email is confirmed, navigate back to the Showit website and log in.
It may bring you straight into the design app, but if it takes you here first, you’ll want to click that big box that says OPEN DESIGN APP →

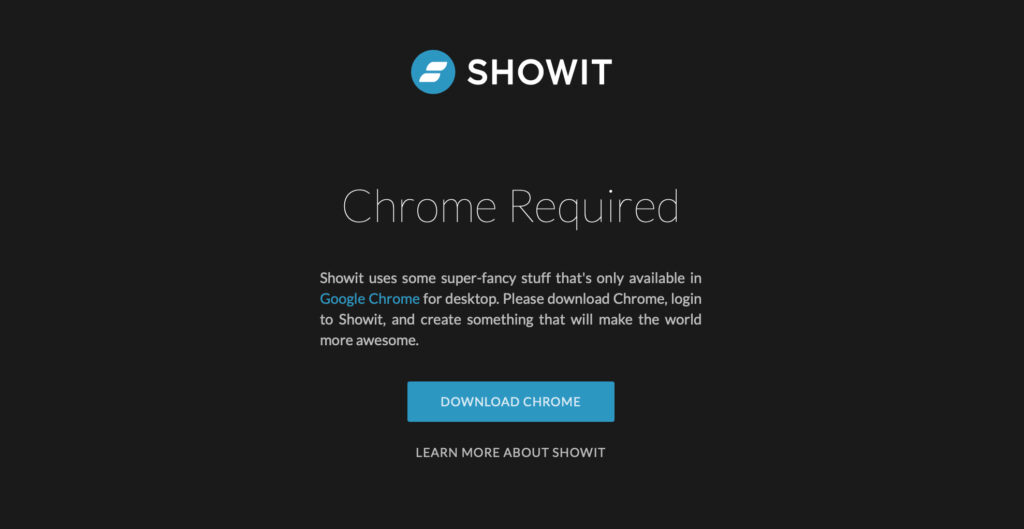
Note: Showit requires the Google Chrome browser to work correctly. If you get the error below, you can download Chrome for free here.
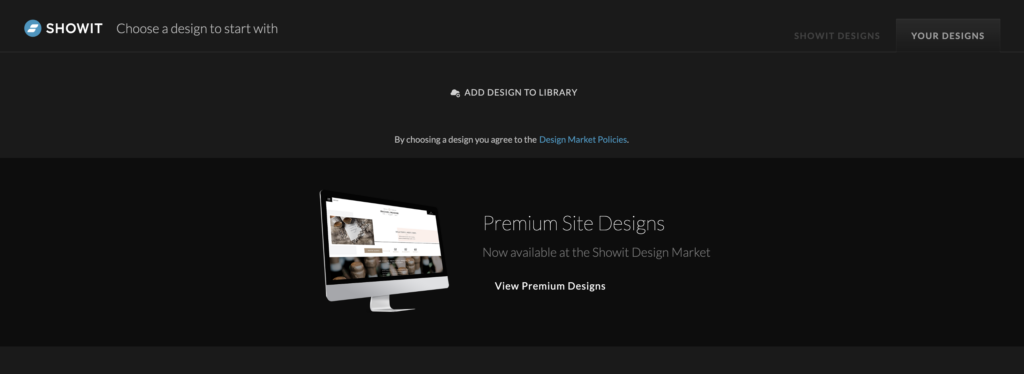
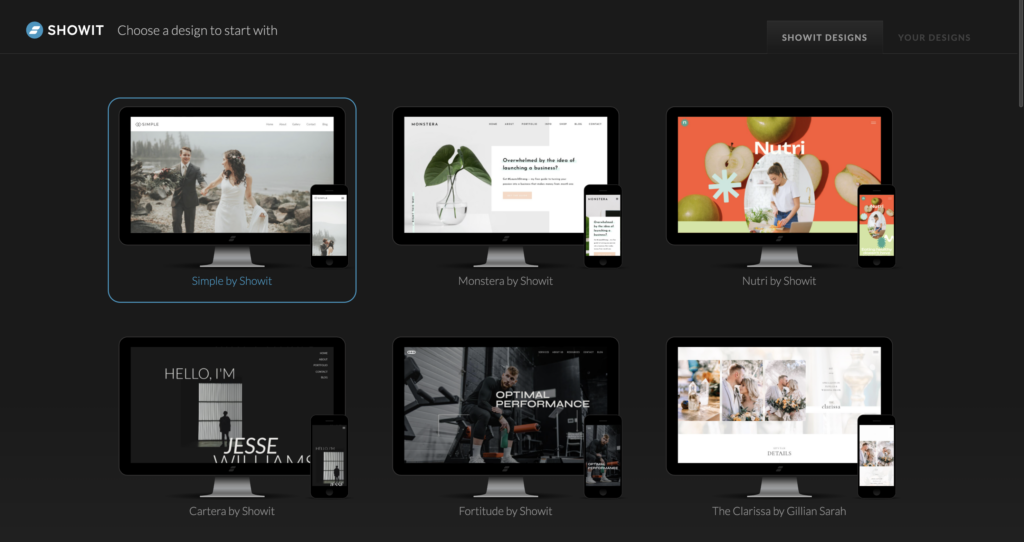
Step 6. Choose a design // Import a Template
Ok now this step will vary depending on whether you’ve already purchased a template you want to import, or if you’re starting from scratch.
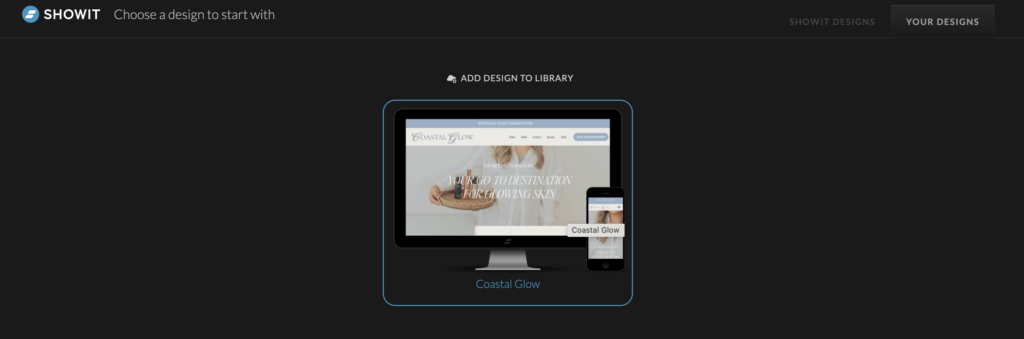
→ IF YOU’RE STARTING WITH A TEMPLATE
In the top right corner, select YOUR DESIGNS and then click ADD DESIGN TO LIBRARY.
You’ll then be prompted to paste your SHARED DESIGN KEY (which you received when you purchased the template!) Click SUBMIT, which will probably pull up a mobile view of the website. Select ADD NOW.
From there, click on the design that just popped up, and proceed to Step 7!
→ IF YOU’RE STARTING FROM SCRATCH
Select the first design named Simple (or feel free to explore and find one you like!) and click Start with this design.
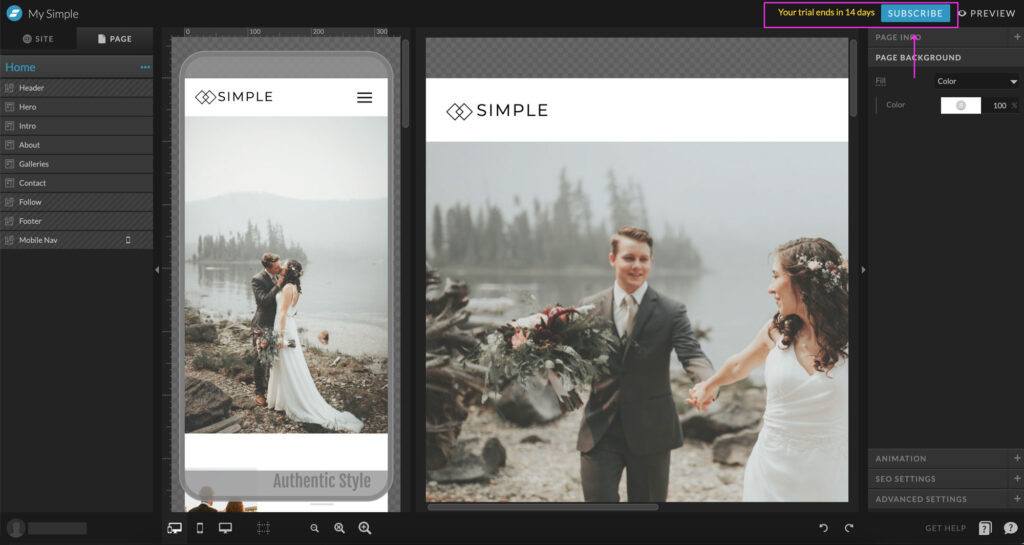
Step 7. Subscribe to Showit
Once the website editor loads, click on the button in the top right corner that says Subscribe.
Step 8. Choose your plan
There are 3 Showit plans available, and the price is discounted if you choose to pay annually, rather than monthly.
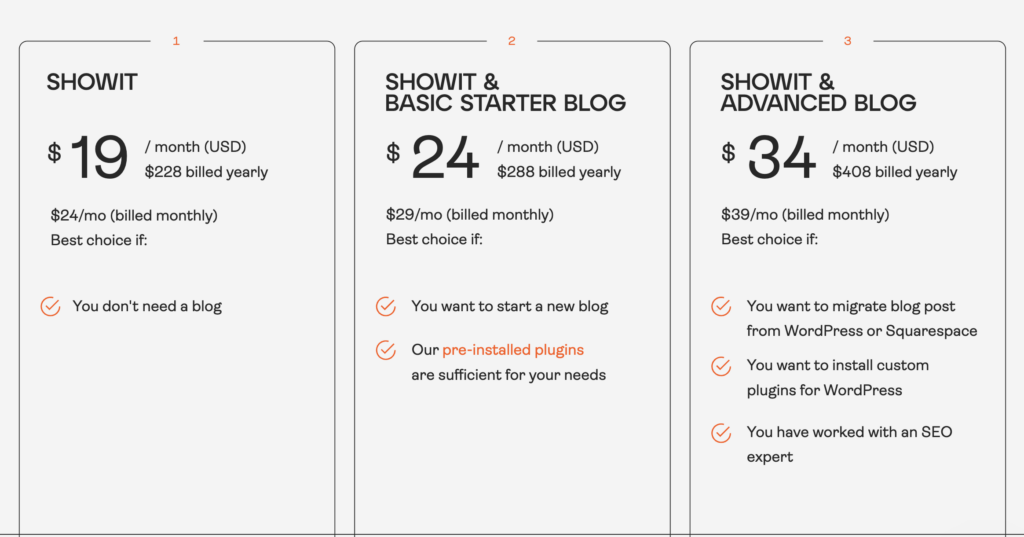
1. Showit: Choose this option if you do not need a blog.
2. Showit + Basic Starter Blog: Choose this option if you are starting a new blog or only have a few blogs from your existing website that you’re ok with manually moving over.
3. Showit + Advanced Blog: Choose this option if you want Showit to migrate existing blog posts over from Squarespace or WordPress, or if you know you want to use advanced WordPress plugins.
Step 9. Complete your payment
You will be prompted to complete your payment, and your subscription to Showit will be active.
Note: If you used that link above, your payment won’t be taken from your account for 6 weeks!
What Now?
If you’re visiting this page because you’re completing my Showit School after purchasing a template, congrats! You’re finished here and can return to the course.
If you just happened to discover me organically, feel free to explore around the Showit Design Interface! Their tutorial provides a great walkthrough.
Andddd if you decide that while Showit is a blast, you’d actually prefer to HIRE someone to build your website for you, let’s chat? I’d love to be considered 🙂


Great article! I really appreciate the clear and detailed insights you’ve provided on this topic. It’s always refreshing to read content that breaks things down so well, making it easy for readers to grasp even complex ideas. I also found the practical tips you’ve shared to be very helpful. Looking forward to more informative posts like this! Keep up the good work!
Wow thank you so much for the sweet comment! I’m happy to hear it was so helpful to you 🙂